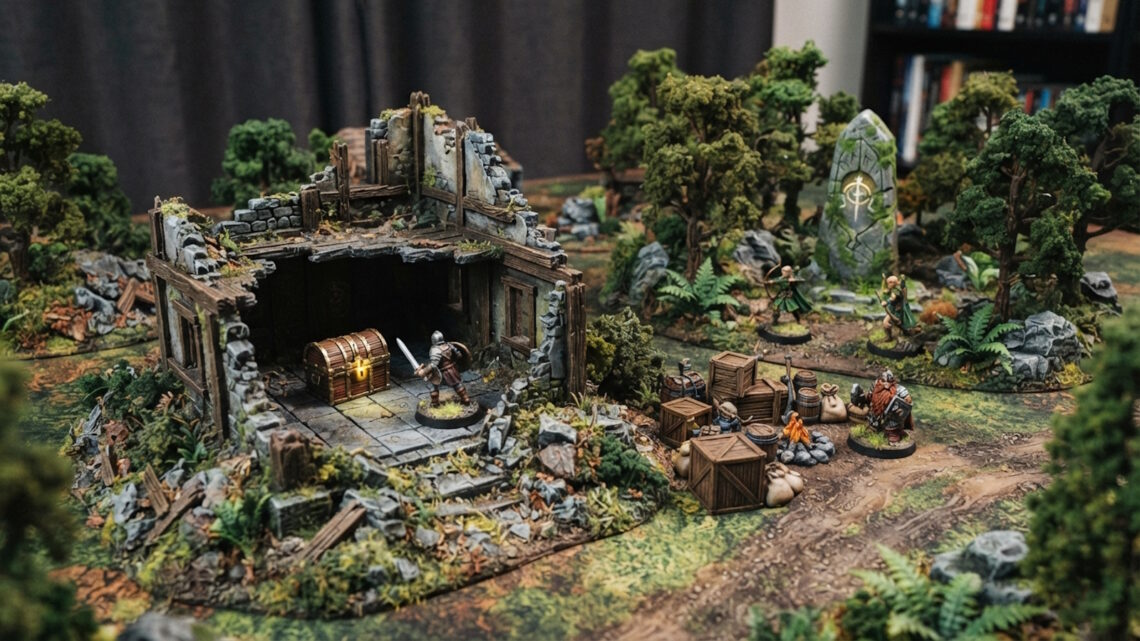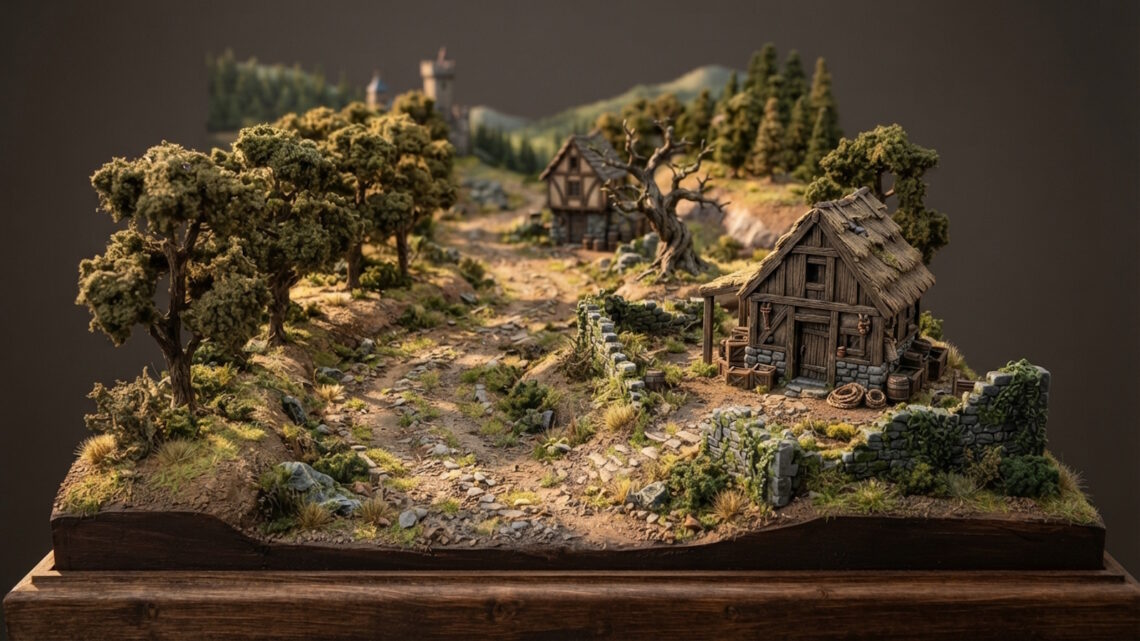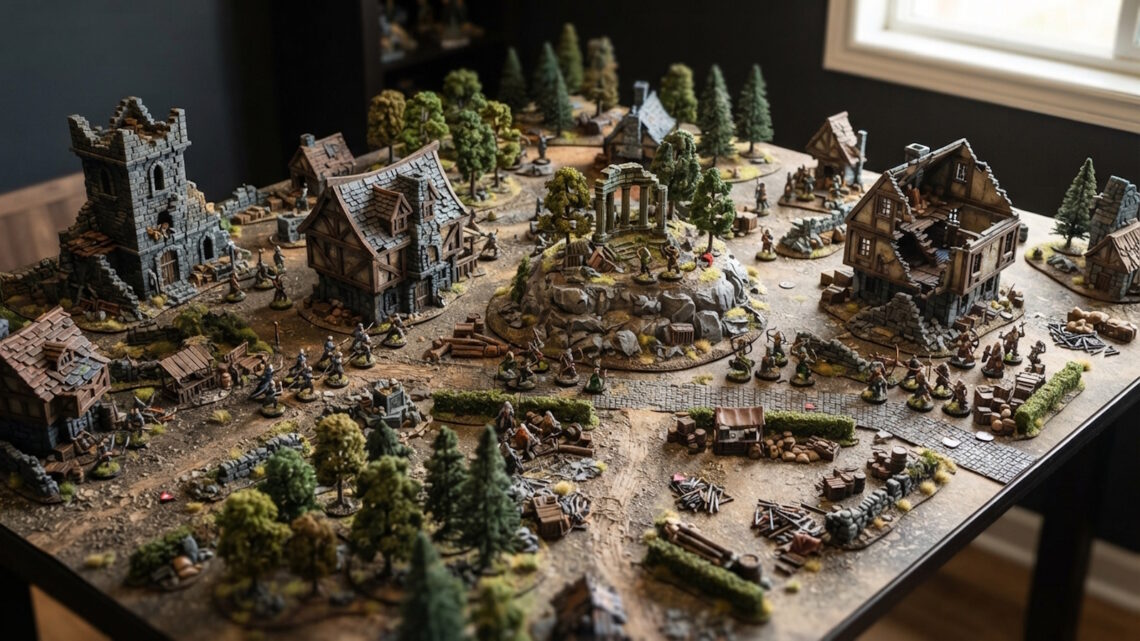
Having plenty of terrain is one thing. Knowing how to arrange it is another.
The same collection of buildings, trees, walls and scatter terrain can produce completely different gaming tables depending on where each piece is placed.
A good terrain layout should look convincing while also creating useful movement routes, cover, line-of-sight choices and areas worth controlling.
You do not need a complicated formula.
A few simple principles can help you arrange terrain more effectively.
Start With the Largest Pieces
Begin by placing your biggest terrain pieces.
These might include:
- Buildings
- Ruined structures
- Large walls
- Towers
- Large groups of trees
These pieces establish the overall shape of the battlefield.
Do not worry about small details yet.
First decide where the major terrain areas should be.
Avoid Perfect Symmetry
A perfectly symmetrical table can look artificial.
If one player has a building on the left, there is no need to put an identical building on the other player’s left.
Instead, aim for rough balance rather than exact symmetry.
One side might have a large ruin while the other has a woodland area.
What matters is that both players have interesting opportunities rather than identical scenery.
Create Several Terrain Zones
One effective approach is to divide the battlefield into broad zones.
For example:
- Open central area
- Woodland section
- Ruined buildings
- Lightly covered flank
Each zone can play a different role.
This also makes the table easier to understand.
Players can quickly identify where the dense terrain is, where the open ground is and which areas might be valuable.
Leave Movement Routes
Terrain should influence movement without completely preventing it.
After placing your major pieces, look for natural routes through the table.
Can units move between the main areas?
Are there multiple ways around large buildings?
Is there a narrow route that could become strategically important?
You do not need every route to be equally safe.
Different levels of risk are what make movement interesting.
Think About the Centre
The centre of the table is often an important area.
Leaving it completely empty can create a huge open battlefield.
Filling it completely can make the game difficult to play.
A useful approach is to place a significant terrain feature near the centre while leaving open routes around it.
A ruined building, group of trees or low wall can create an area worth controlling without becoming an enormous obstacle.
Add Scatter Terrain Last
Once the large terrain is in place, add your smaller pieces.
This is where barrels, crates, chests, sacks, stumps, logs and other scatter terrain become useful.
Think about where these objects would naturally belong.
Crates might sit near a building.
Barrels could be grouped outside a tavern.
Fallen logs might lie beside woodland.
Rubble could gather around a ruined wall.
This makes the placement look intentional.
Use Groups
Avoid spreading individual scatter pieces evenly across the battlefield.
Instead, create small groups.
For example, three crates together look like a storage area.
Several barrels beside a building suggest supplies.
A few fallen logs together can suggest an area of woodland debris.
Groups also create stronger visual features than isolated objects.
Leave Some Empty Space
Empty space is not a mistake.
It provides room for miniatures and makes the terrain that is present more noticeable.
If every part of the table contains something, individual pieces can lose their impact.
Open ground also creates tactical contrast.
A player moving through an open area may be more exposed than a player moving through a ruin or woodland.
Vary Terrain Density
Try not to make every part of the table equally dense.
You might have:
- A dense woodland section
- A lightly covered flank
- A relatively open central area
- A ruin-heavy corner
This gives the battlefield different identities.
It also means players have to decide which areas suit their plans.
Vary Terrain Heights
Height adds another layer of visual variety.
Combine low scatter terrain with medium-height walls and taller buildings or trees.
This prevents the battlefield from appearing flat.
Different heights can also affect visibility, depending on the game’s rules.
Think About Cover
When arranging terrain, consider where models will be able to find protection.
You want enough cover that players have meaningful options.
However, avoid creating one side of the table where nearly every route is protected while the opposite side is completely exposed.
Look at the battlefield from both deployment areas.
Break Up Long Sight Lines
Look across the table.
Can one side see almost all the way to the other?
If so, consider moving a building, ruin, tree group or wall into the sight line.
You do not necessarily need to block it completely.
Breaking up a long view can be enough to create additional movement choices.
Create Focal Points
Every table benefits from a few visually interesting locations.
A large ruin might be the main focal point.
A group of trees could form another.
A central building, objective or distinctive piece of scatter terrain could provide a third.
Focal points make the table easier to remember.
They also help create a sense of place.
Use Terrain to Tell a Story
Ask yourself why each group of terrain is where it is.
A pile of crates beside a building makes sense.
Logs beside a woodland path make sense.
Rubble around a broken wall makes sense.
Barrels outside a tavern make sense.
When terrain placement has a reason, the entire table tends to look more natural.
Check From Ground Level
Terrain can look balanced from above but very different from the perspective of a miniature.
Before starting a game, lower your viewpoint and look across the battlefield.
Check whether some areas are completely exposed.
Look at how buildings, trees and walls interact.
This can help identify sight lines and terrain positions that are not obvious from above.
Move a Few Models Around
A quick gameplay test can also be useful.
Place a few representative models on the table.
Move them through the major routes.
Check whether they can reach important areas.
See whether terrain is constantly being moved out of the way.
If a section feels awkward, adjust it before the game begins.
Don’t Chase a Perfect Layout
There is no single perfect terrain arrangement.
The ideal layout depends on:
- Table size
- Game system
- Model size
- Terrain collection
- Scenario
- Number of players
A layout that works beautifully for one game may be less suitable for another.
The advantage of a modular terrain collection is that you can change it.
Photograph Layouts You Like
If you regularly play games, consider photographing layouts that work particularly well.
This gives you a record of combinations you can reuse.
You can also make small changes each time rather than starting from scratch.
Over time, you will develop a better understanding of how much terrain your table needs and which combinations work best.
Final Thoughts
Arranging tabletop terrain is about finding a balance between appearance and gameplay.
Start with the largest pieces, create several terrain zones and leave sensible movement routes. Break up long sight lines, provide useful cover and add scatter terrain in purposeful groups.
Do not worry about making the battlefield perfectly symmetrical.
Instead, aim for a table that gives both players interesting choices.
With the same collection of terrain, thoughtful placement can create a surprisingly large number of different gaming tables.