Dry brushing is one of the quickest and most useful painting techniques for tabletop terrain.
It works particularly well on 3D printed scenery because many terrain models contain raised textures, edges and surface details that naturally catch a lighter colour.
Trees, rocks, stone walls, barrels, crates, ruins and other scatter terrain can all benefit from dry brushing.
The technique is simple, but getting the amount of paint right is important.
What is dry brushing?
Dry brushing involves applying a relatively small amount of paint to a brush and removing most of it before brushing across the model.
Instead of coating the entire surface, the remaining paint catches the raised areas.
This creates highlights while leaving recessed areas darker.
The result is a simple form of shading and highlighting that can make terrain texture stand out very quickly.
What do you need?
You don’t need specialist equipment.
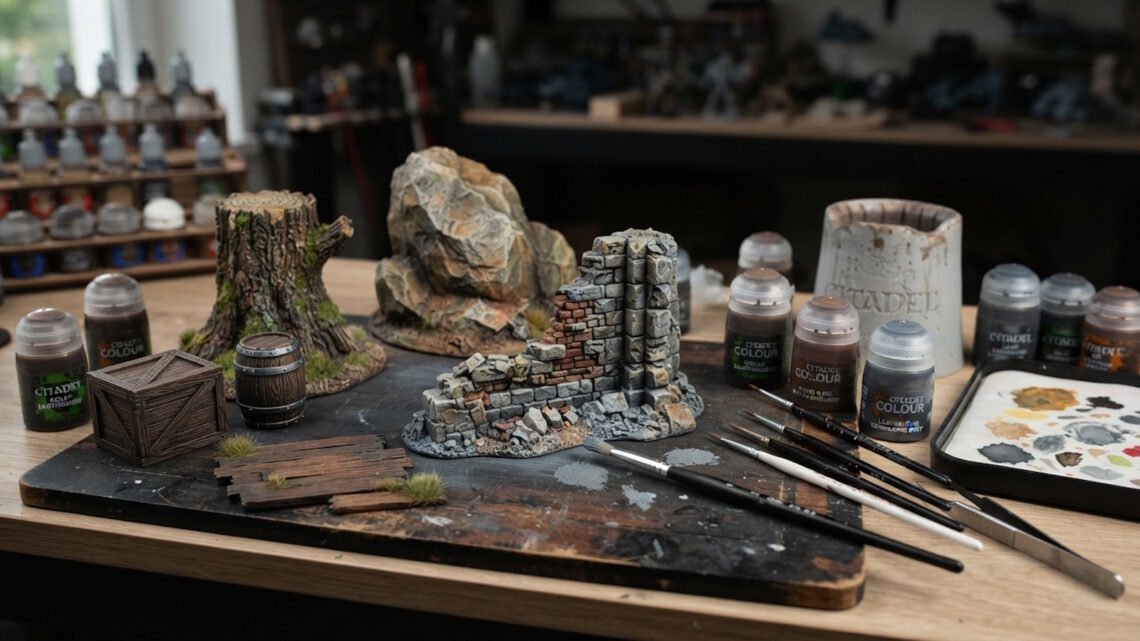
You need:
- A suitable terrain brush
- Paint
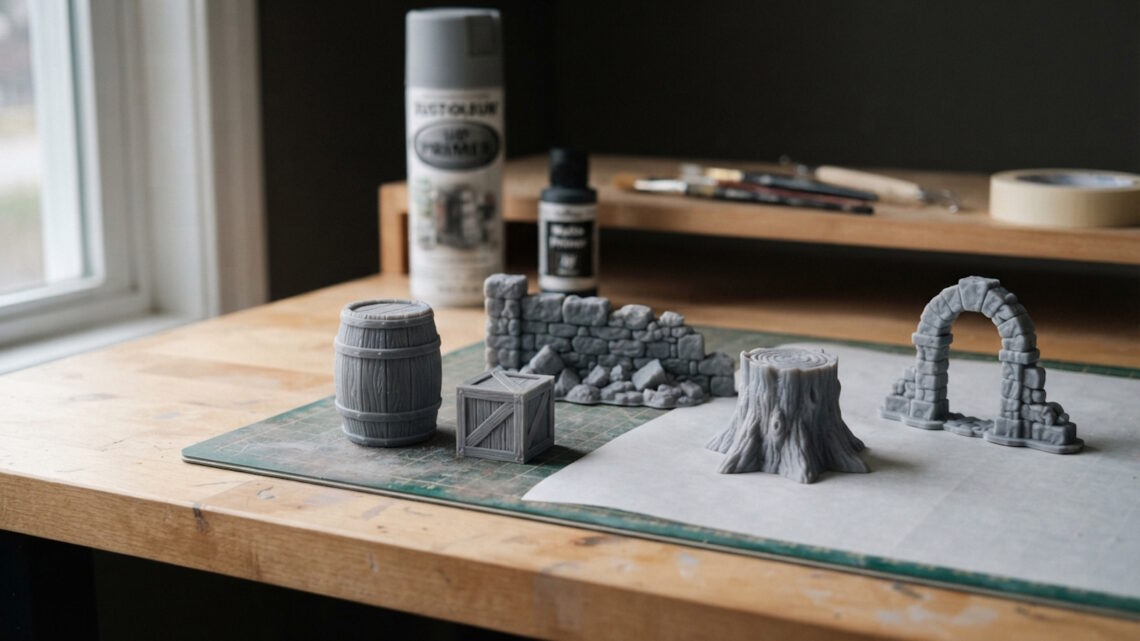
- Your primed and base-coated terrain
- A paper towel or similar surface
A larger brush can make the process faster on large terrain pieces.
A smaller brush can be useful for more controlled areas.
Old brushes can sometimes be useful for dry brushing because the technique can be hard on bristles.
Start with a dry terrain piece
Make sure the previous layers of paint are dry before dry brushing.
If the base coat or wash is still wet, the colours can mix rather than creating a clean highlight.
Patience is particularly useful when working with washes.
Allow the terrain to dry properly before continuing.
Choose your highlight colour
Your dry-brush colour should generally be lighter than the surface underneath it.
For brown wood, a lighter brown can work well.
For grey stone, use a lighter grey.
For dark rocks, a grey or beige highlight may be appropriate.
You don’t necessarily need a dramatic colour difference.
A subtle highlight can often produce a more natural result.
Load the brush
Put a small amount of paint onto the brush.
Then remove most of it using a paper towel or another suitable surface.
When you think there is almost no paint left, test the brush on the back of your hand or another suitable surface if appropriate.
You want a small amount of pigment to remain.
If the brush is still heavily loaded, you are likely to apply too much paint.
Brush across the raised details
Use light strokes across the terrain.
The exact direction is not critical for many terrain pieces.
As the brush passes over the surface, the raised texture catches the paint.
Recessed areas remain darker.
This creates immediate contrast.
Work gradually
It is easier to add another layer of dry brushing than to remove excessive paint.
Start lightly.
Look at the model.
If the highlights are too subtle, apply another pass.
This gives you much more control over the finished appearance.
Use multiple highlights
For stronger results, use several progressively lighter colours.
For example:
Base: Medium brown
First dry brush: Light brown
Second dry brush: Beige-brown
The second highlight should be applied more lightly and to a smaller area.
This creates a simple gradient.
The same method works with stone.
Start with dark grey, move to medium grey and finish with a very light grey on the most prominent edges.
Dry brushing wooden terrain
Wood is one of the easiest materials to dry brush.
Barrels, crates, chests and logs all contain raised areas that respond well to the technique.
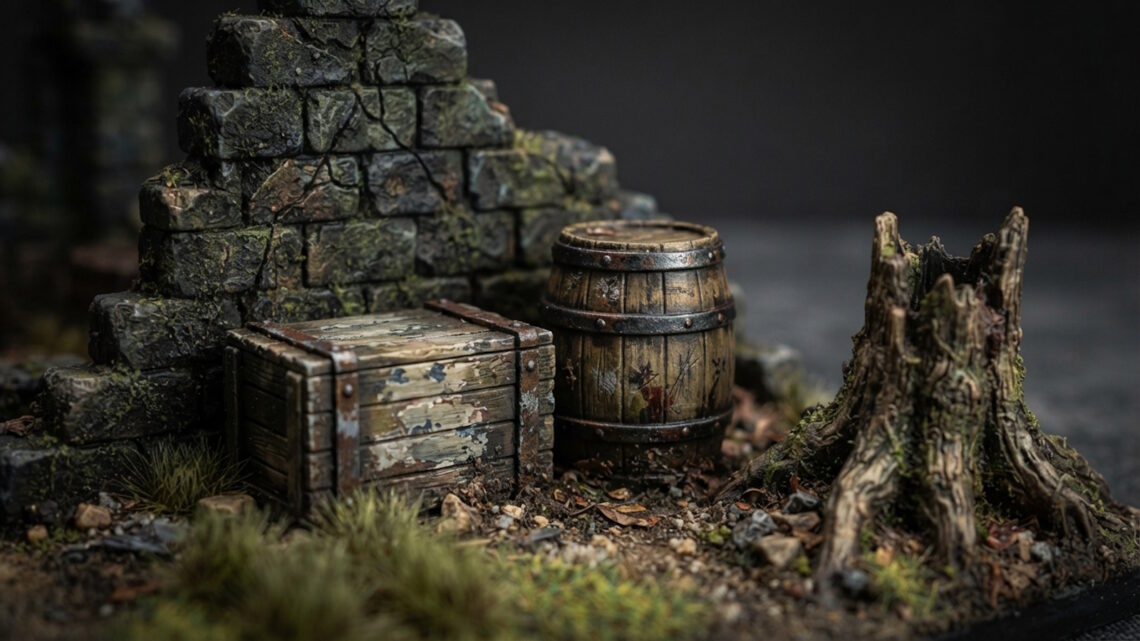
After applying your base colour and darker shading, use a lighter brown across the raised surfaces.
On a crate, the brush will catch the edges of the boards.
On a barrel, it will highlight the curved wooden sections.
On a tree stump, it will bring out the bark texture.
Dry brushing stone
Stone terrain responds particularly well to dry brushing.
This includes:
- Walls
- Ruins
- Rocks
- Tombs
- Stone floors
- Broken masonry
Use a lighter colour across the textured surfaces.
Allow the darker shade to remain in cracks and recesses.
This makes the individual stones much easier to see.
Dry brushing trees
Tree bark can produce excellent results.
Start with a darker brown or grey-brown base.
Add a darker wash if required.
Then use a lighter brown to pick out the raised bark.
For older or dead trees, grey and beige highlights can create a weathered appearance.
You can vary the final colours depending on the environment you are trying to create.
Dry brushing rocks and rubble
Rocks do not need complicated painting.
A dark base followed by progressively lighter dry brushing can create convincing results quickly.
The irregular surface naturally catches the paint.
For rubble, consider using several related colours rather than making every piece identical.
Don’t dry brush everything equally
One common mistake is applying the same amount of highlight across the entire model.
Think about where light would naturally catch.
The highest edges can receive the strongest highlight.
Recesses should remain darker.
This creates more visual depth.
Avoid excessive paint
If the brush is too wet, the result can look chalky or overly bright.
This is especially noticeable on dark terrain.
If this happens, you may simply be using too much paint.
Clean the brush, allow the model to dry and try again with a lighter application.
Dry brushing is a technique where restraint usually produces better results.
Don’t worry about perfection
Terrain is not normally viewed from a few centimetres away.
It is seen across a gaming table.
A dry-brushed tree that looks slightly rough close up may look excellent once surrounded by other terrain and miniatures.
Focus on overall contrast rather than microscopic perfection.
Batch dry brushing
If you are painting several similar pieces, dry brush them together.
For example, paint all your wooden crates with the same base colour and wash.
Then dry brush the entire group.
This makes the collection faster to paint and gives it a consistent visual style.
You can introduce small variations afterwards.
Combining dry brushing with washes
Washes and dry brushing work particularly well together.
The wash darkens the recesses.
The dry brush restores the raised areas.
Together they create strong contrast with relatively little effort.
This combination is particularly effective for terrain because the models often contain large amounts of texture.
Final thoughts
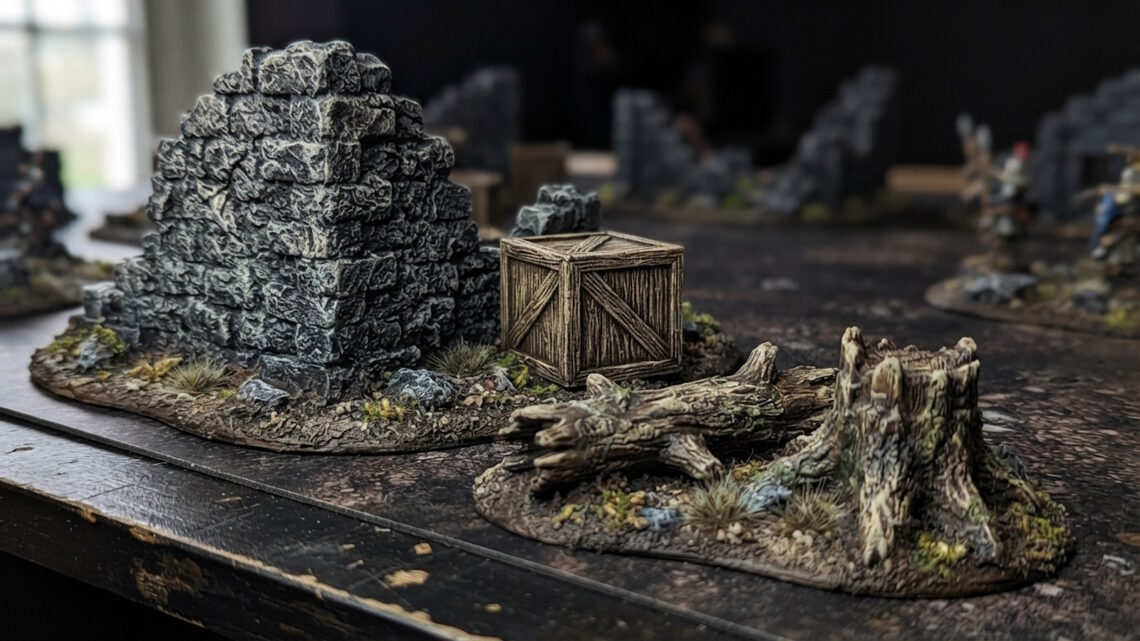
Dry brushing is one of the best techniques to learn if you are painting tabletop terrain.
It is quick, inexpensive and works particularly well on textured surfaces.
Start with a small amount of paint, remove most of it from the brush and gradually build your highlights.
Use darker colours in the recesses and lighter colours on the raised surfaces.
Once you are comfortable with the technique, you can use the same basic process on trees, logs, barrels, crates, rocks, ruins and almost any other textured terrain.
The result does not need to be perfect. Strong, readable contrast is usually what makes terrain stand out when it is placed on the gaming table.