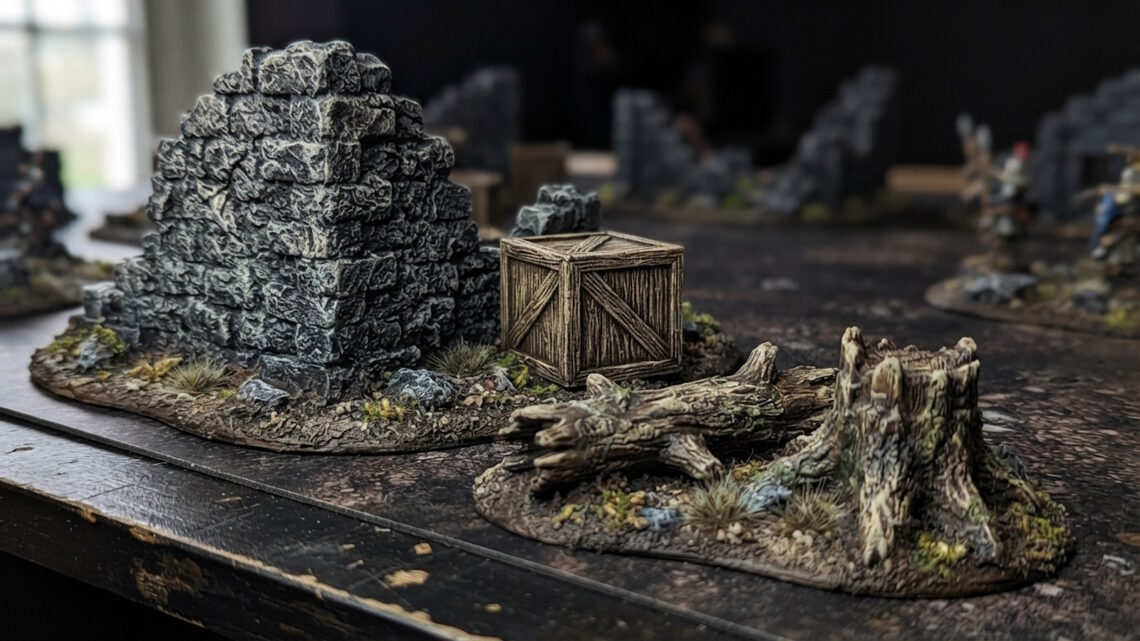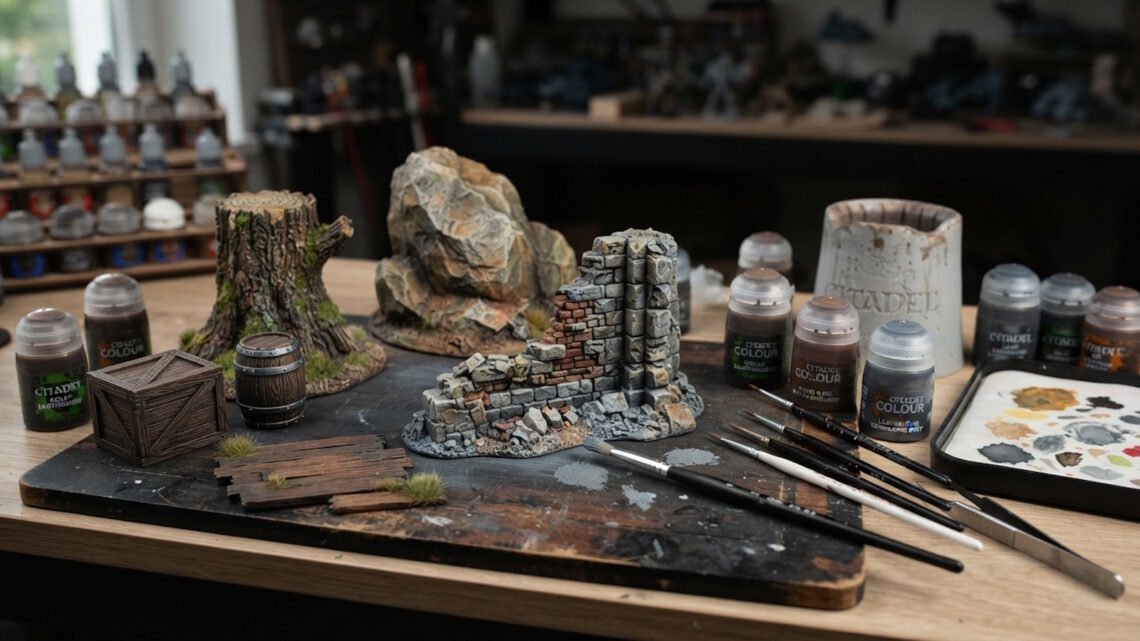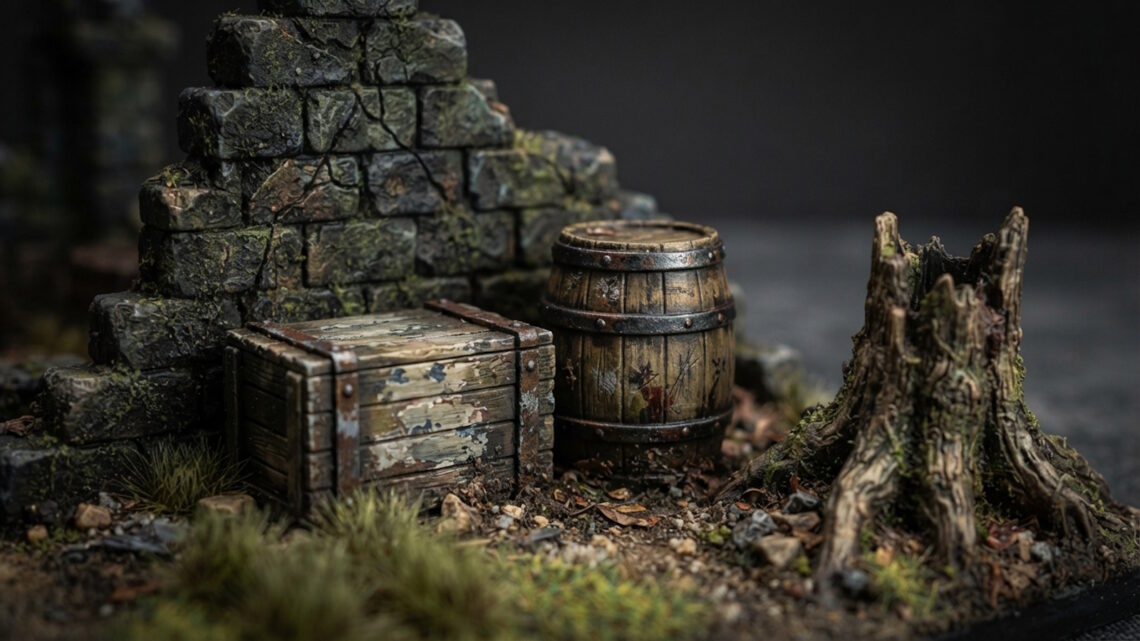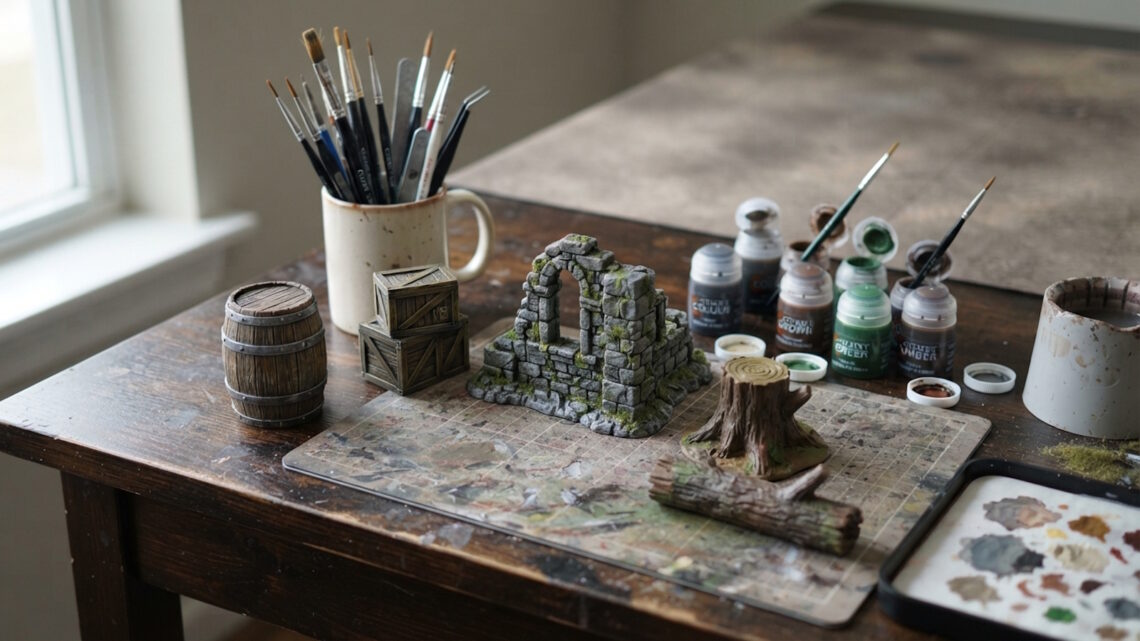
Painting 3D printed terrain is one of the easiest ways to turn plain printed pieces into convincing tabletop scenery.
You do not need advanced miniature-painting skills to get good results. Terrain is generally much larger than individual miniatures, which means you can use simple techniques such as dry brushing, washes and broad base coats to create impressive effects relatively quickly.
Whether you are painting a tree, barrel, crate, stone wall or piece of dungeon scenery, the basic process is similar.
Prepare the surface, prime it, apply your main colours, add shadows and highlights, then protect the finished piece if necessary.
Clean the terrain first
Before painting, inspect the printed piece.
Depending on how it was printed, there may be small amounts of loose filament, support material or other imperfections.
Remove anything that should not be part of the finished model.
A small hobby knife or suitable tool can be useful for carefully removing unwanted material.
Do not rush this stage.
Paint will not hide every printing issue, and removing loose material before painting is easier than trying to fix it afterwards.
Lightly smooth the surface if needed
FDM printed terrain can show visible layer lines.
Whether you need to do anything about them depends on the model and the finish you want.
For many terrain pieces, especially chunky scatter terrain, the layer texture is perfectly acceptable and may even add visual character.
If you want a smoother surface, light sanding can reduce the appearance of some layer lines.
Avoid sanding aggressively, particularly around small details.
Remember that tabletop terrain does not need to have the perfectly smooth surface expected from a display miniature.
Prime the terrain
Primer gives your paint a consistent surface to adhere to.
Choose a primer suitable for the material you are painting and follow the manufacturer’s instructions.
Apply thin, even coats rather than trying to cover everything with one heavy application.
Heavy spraying can obscure small details.
A neutral primer can also make painting easier because it gives you a consistent starting point.
Dark primer can make shadows easier to establish, while lighter primer can make bright colours easier to build.
Start with a base coat
Once the primer has dried, apply the main colour.
This might be a medium brown for wooden terrain.
For stone, a grey or brown-grey can work well.
For trees, you might use several shades depending on the style of the model.
The first coat does not have to be perfect.
Terrain painting becomes much easier once you remember that later stages will add shadows and highlights.
Several thin coats are generally preferable to one extremely thick coat.
Add darker areas
After the main colour has dried, introduce darker tones.
A wash can be useful for terrain because it naturally settles into recesses.
For wooden objects, darker brown can emphasise gaps between boards.
On stone terrain, a dark wash can help bring out cracks and texture.
Be careful not to flood the surface.
The goal is to create depth rather than cover the entire piece in a thick layer of dark paint.
Dry brushing is ideal for terrain
Dry brushing is one of the most useful painting techniques for tabletop terrain.
Put a small amount of lighter paint on a relatively dry brush and remove most of it on a paper towel or similar surface.
Then lightly brush across raised areas.
The paint catches the edges and textures while leaving recessed areas darker.
This works particularly well on:
- Stone
- Wood
- Rocks
- Brickwork
- Tree bark
- Ruins
It is also quick, which makes it practical when painting larger quantities of terrain.
Use more than one highlight
You can stop after one dry brush, but additional layers can create more depth.
Start with a moderate highlight.
Then use a lighter colour and apply a smaller amount more selectively.
For example, a wooden barrel could have a medium brown base, a darker wash and then one or two progressively lighter dry-brushed highlights.
The highest highlights should generally cover less of the model.
Painting wood
Wooden terrain is particularly forgiving.
Start with a brown base.
Add a darker wash to emphasise the gaps between boards and other recessed details.
Then dry brush with a lighter brown.
For an older piece of wood, you can introduce grey or beige into the highlights.
This works especially well for crates, barrels, chests, fallen logs and tree stumps.
You do not need every wooden board to be exactly the same colour.
Small variations can make the finished terrain look more natural.
Painting stone
Stone can be painted using a similar approach.
Start with a mid-grey or suitable stone colour.
Apply a dark wash into the recesses.
Then dry brush with a lighter grey.
For old or weathered stone, a small amount of brown or beige can be added to some areas.
The key is variation.
Perfectly uniform grey stone can look artificial.
Painting trees and natural terrain
Trees can benefit from several different colours.
The trunk can be treated like wood, using browns and greys.
The base can then be painted with earthy colours.
If the model includes foliage, use colours that work with your gaming table rather than worrying about botanical accuracy.
A fantasy forest gives you considerable freedom.
Don’t overwork the model
One common mistake is continuing to add more and more paint because the model does not look finished immediately.
Terrain often looks better from normal tabletop distance than it does when viewed very close up.
Step back occasionally.
Put the terrain beside your miniatures.
Look at it from the distance players will normally see it.
You may find that what looks simple close up works extremely well on the gaming table.
Protect the finished terrain
If the terrain will receive heavy handling, consider applying a suitable protective finish once the paint is fully dry.
Follow the product instructions carefully.
A protective coating can help reduce wear caused by repeated handling and storage.
Test the finish on an inexpensive or spare piece first if you are unsure how it will affect the paint.
Paint in batches
If you have several similar pieces, painting them together can save time.
For example, paint several barrels at the same time.
Apply the base colour to all of them before moving to the wash stage.
Then dry brush the entire group.
This is generally more efficient than completing one piece from beginning to end before starting another.
Final thoughts
Painting 3D printed terrain does not need to be complicated.
A simple process of preparation, priming, base coating, shading and dry brushing can produce excellent tabletop results.
Focus on the large visual effects rather than tiny details.
Terrain is viewed from a distance during games, so strong colours, shadows and highlights often matter more than perfect miniature-level painting.
Start with a few pieces, experiment with different colours and techniques, and gradually develop a painting method that suits your gaming table.
The goal is not to make every piece a display model. The goal is to create a cohesive collection of terrain that looks great when everything is placed together on the table.