A miniature forest can create an atmospheric display using relatively simple ingredients.
Trees provide the main structure, while paths, fallen logs, rocks and ground details create depth and variety.
The most important thing is to avoid making the forest look like a collection of identical trees. Natural variation is what gives a miniature woodland its character.
Choose the Scale and Base
Before buying or making scenery, establish the scale you want to use.
Keep the scenery consistent so that trees, buildings, props and any figures you add feel as though they belong together.
A simple rectangular or irregular base can work well.
The size should match the amount of forest you want to represent.
Create the Forest Floor
Start with the ground.
Use earthy colours and textures to establish soil, leaf litter, stones and patches of vegetation.
A completely uniform ground surface can make the trees look planted rather than naturally rooted.
Small variations around the bases of trees help considerably.
Arrange the Trees
Place the largest trees first.
Try different arrangements before fixing them permanently.
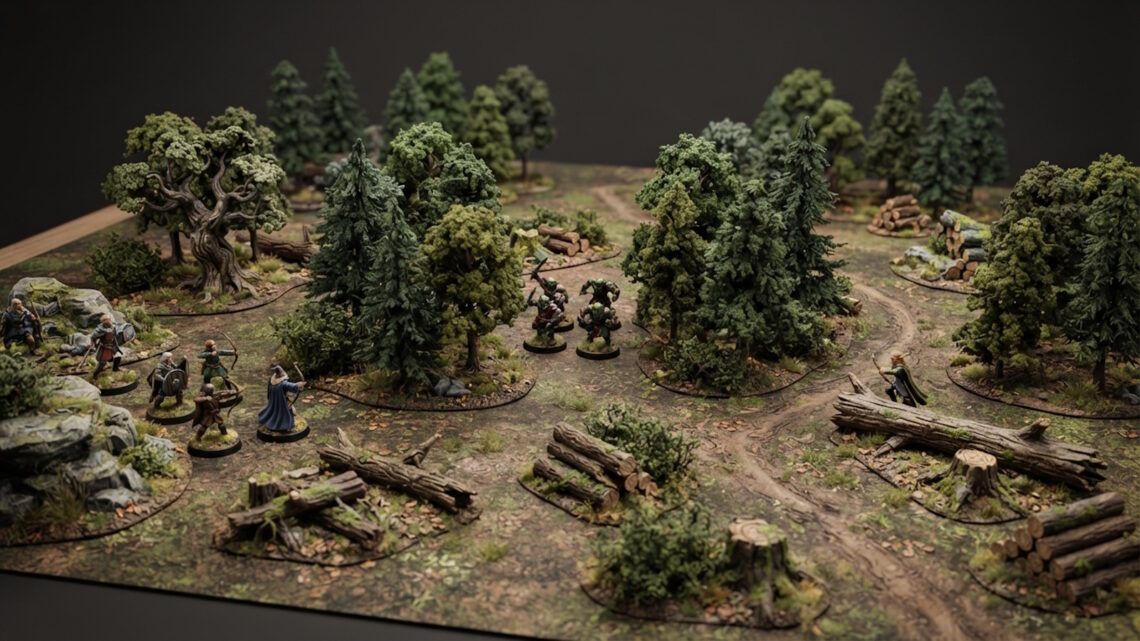
Groups of trees often look more natural than evenly spaced individual trees.
Leave some areas open so that the viewer can see deeper into the forest.
Add a Path
A path can provide a strong visual feature.
It might wind between trees, disappear behind a fallen log or lead towards a distant feature.
Avoid making the path perfectly straight.
An irregular curve creates more interest and makes the forest feel less artificial.
Use Fallen Trees
Standing trees create vertical shapes.
Fallen logs introduce horizontal shapes and therefore help break up the composition.
Place logs in different orientations.
Some can be clearly visible, while others can be partly hidden by vegetation.
Tree stumps can be positioned nearby to suggest where fallen trees once stood.
Add Rocks
Rocks provide another type of natural texture.
Use them in small clusters rather than distributing them evenly.
Larger rocks can become focal points, while smaller stones can help transition between areas.
Create Depth
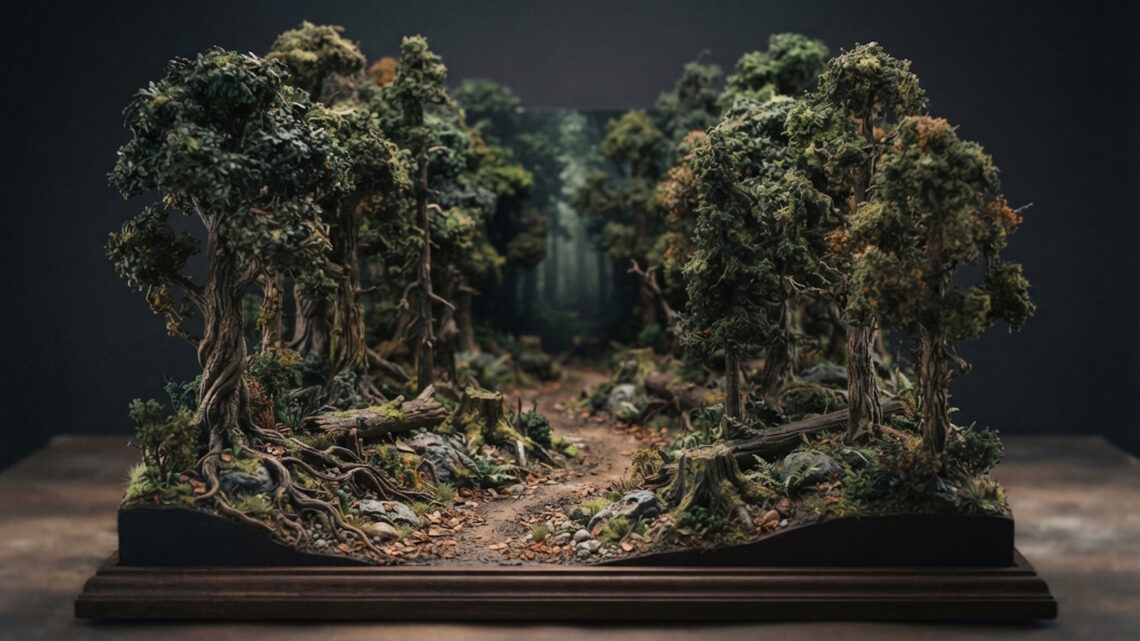
Use taller scenery towards the rear of the scene and smaller elements towards the front.
You can also use foreground trees to partially frame the view.
This makes the forest appear deeper than the physical dimensions of the diorama.
Add Atmospheric Details
Small details can have a surprisingly large effect.
Roots, branches, fallen leaves, moss, stones and patches of ground vegetation can make the scene feel established.
You don’t need to cover everything.
Concentrate details around important areas and leave quieter sections elsewhere.
Consider the Season
The colour palette can completely change the character of the forest.
Spring can use fresh greens and brighter vegetation.
Summer can be dense and lush.
Autumn can introduce warm leaf colours.
Winter can use more muted tones and exposed branches.
A fantasy forest gives you even more freedom.
You can choose colours and vegetation that don’t exist in the real world while maintaining believable relationships between the different elements.
Give the Scene a Focal Point
A small feature can give the forest a story.
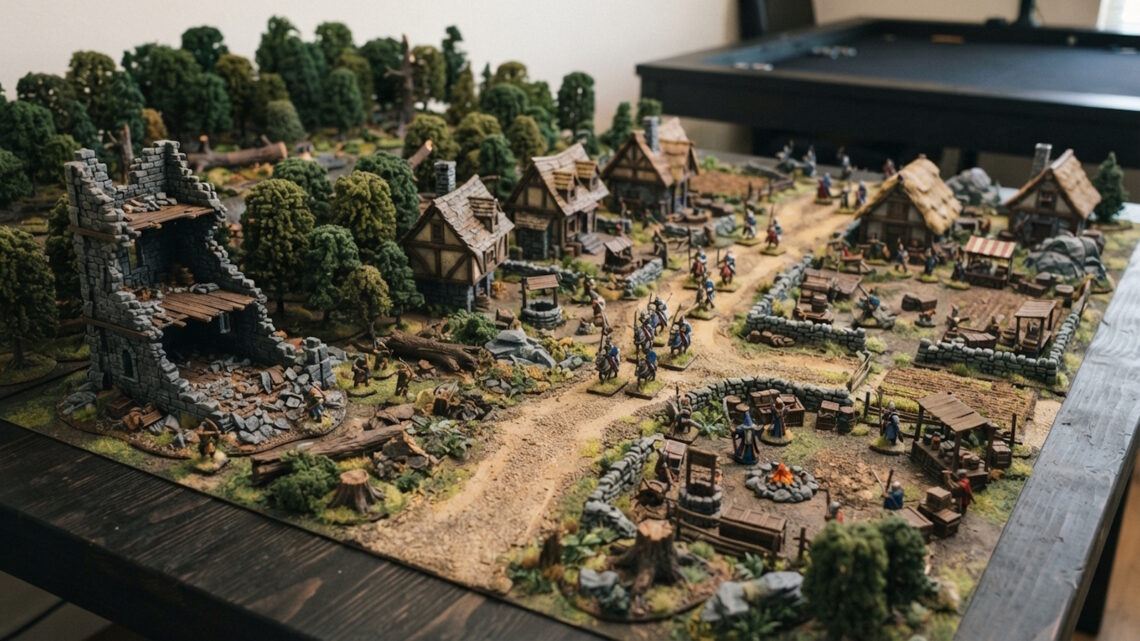
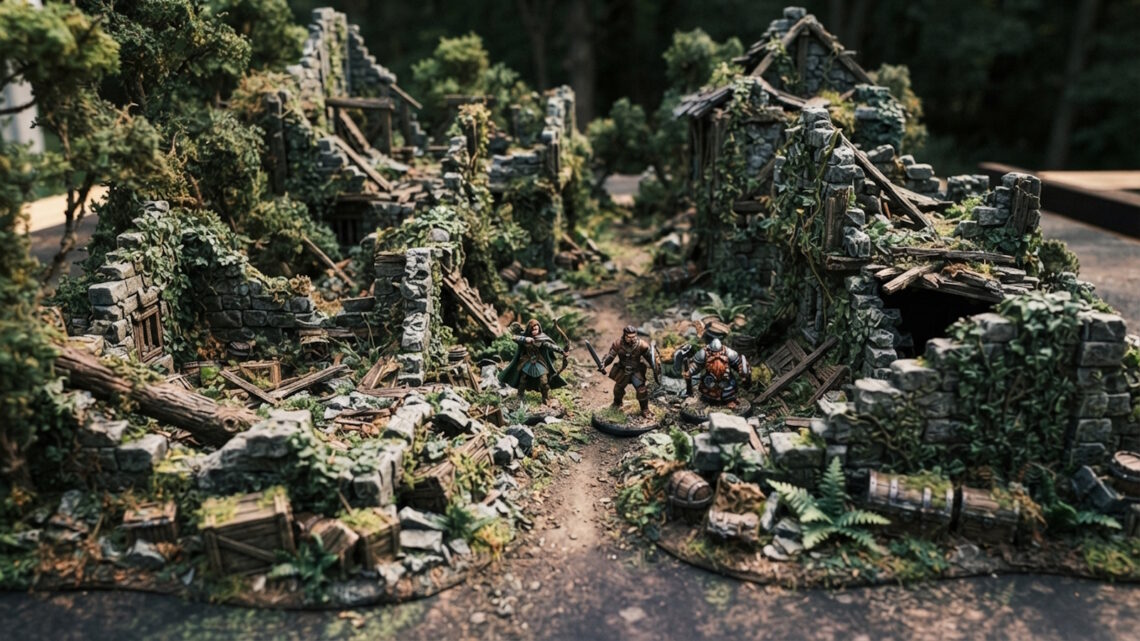
It could be an old stone ruin, shrine, abandoned cart, wooden bridge or clearing.
The surrounding trees can frame it.
This gives the viewer somewhere to look rather than making every part of the forest equally important.
Final Details
Once the major terrain is positioned, look for areas where the scene feels disconnected.
Use small rocks, vegetation and fallen branches to bridge gaps.
Check that the path remains visible and that the most important features aren’t completely hidden.
A miniature forest works best when it feels like a section of a much larger landscape.
With varied trees, uneven ground, fallen logs, natural paths and carefully placed details, even a small display base can suggest an entire woodland beyond the edges of the scene.