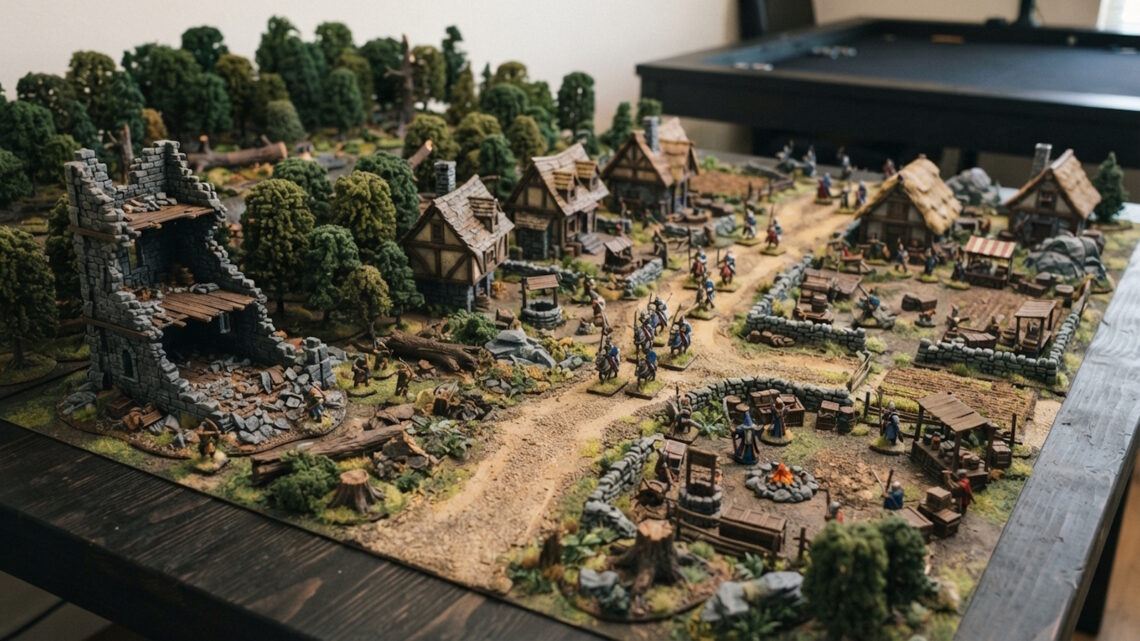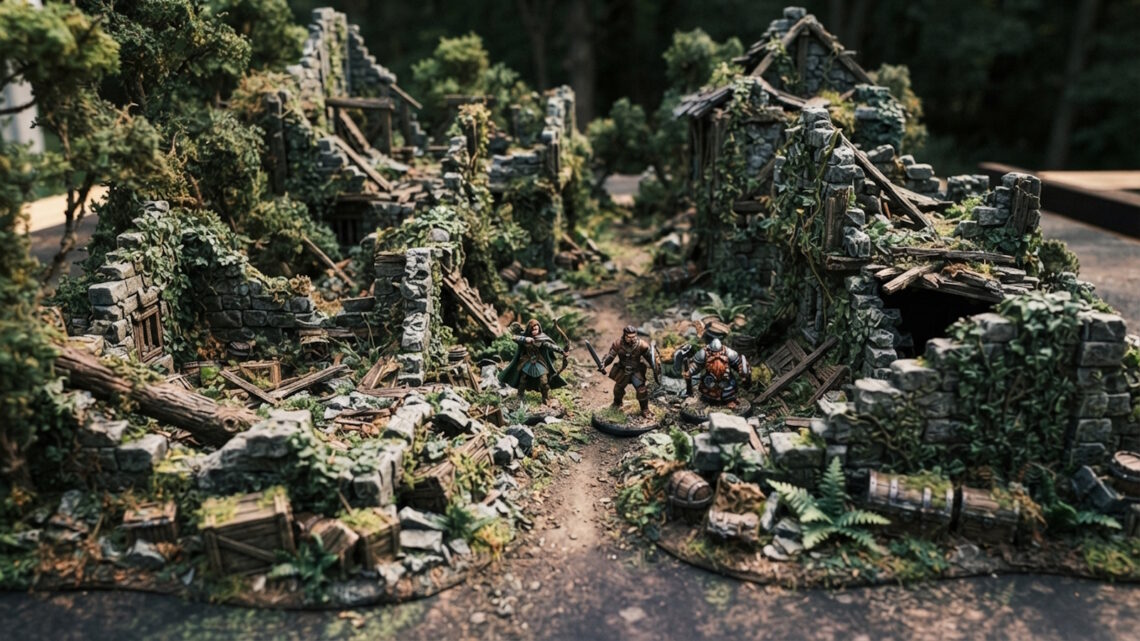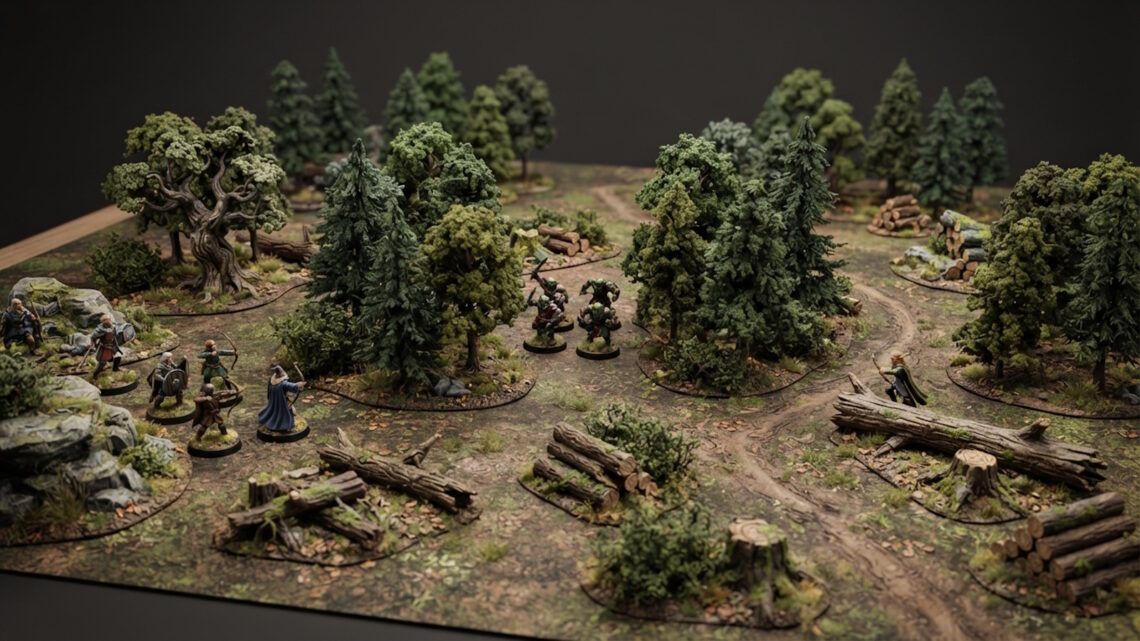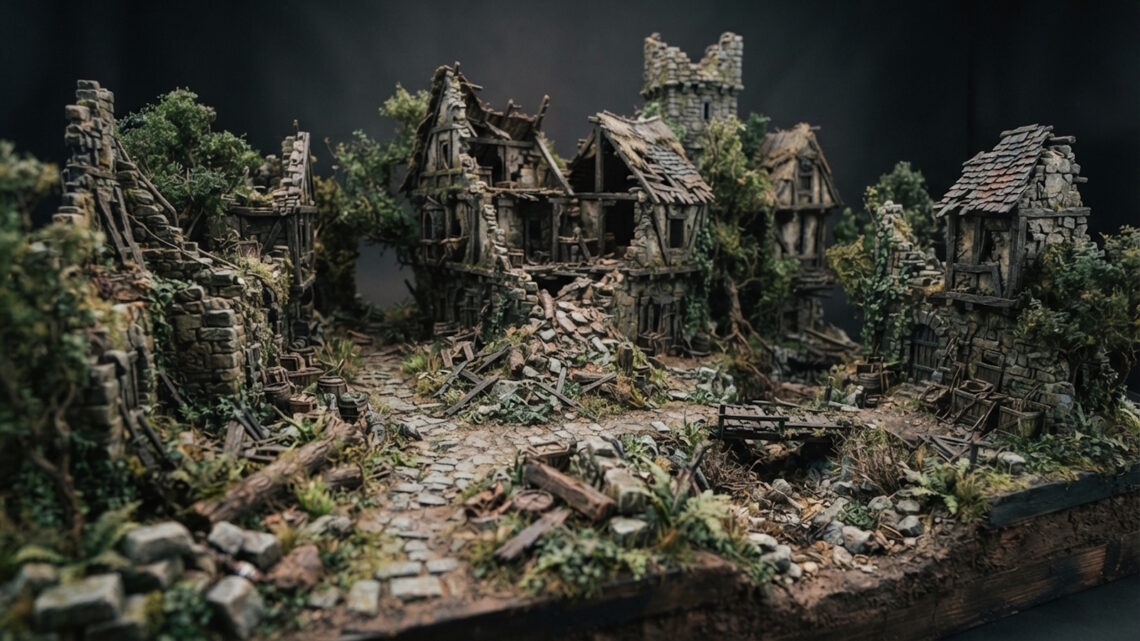
A ruined village is an excellent subject for a miniature diorama because it combines architecture with natural decay.
Broken walls, rubble, damaged roads, abandoned props and vegetation can all suggest that the settlement was once active but has since been neglected.
The key is to show different stages of decay rather than making every building equally damaged.
Decide Why the Village Was Abandoned
You don’t necessarily need to explain the story to the viewer, but having one in mind helps guide the design.
Perhaps the village was destroyed, abandoned after a disaster or simply left to decay.
This can influence how you arrange the scenery.
Start With the Buildings
Buildings should establish the main structure.
Use a mixture of intact and damaged structures.
One building could remain mostly complete while another has a collapsed section.
This creates contrast.
If everything is destroyed to the same degree, the scene can become visually repetitive.
Create Broken Ground
Rubble is essential for a ruined environment.
Place larger pieces close to damaged structures and smaller debris further away.
This creates a natural transition from building to ground.
Avoid spreading rubble evenly across the entire scene.
Concentrating it around specific areas makes the damage easier to understand.
Damage the Roads
The road should also show signs of neglect.
Add dirt, weeds, stones and broken sections.
A previously maintained cobbled path can become uneven and partially covered by vegetation.
This connects the buildings to the wider environment.
Add Abandoned Props
Small objects can tell the story of what happened to the village.
Crates, barrels, sacks, carts and other everyday items can be left scattered around.
Some can be positioned near damaged buildings.
Others can be partially buried or surrounded by vegetation.
Bring Nature Back Into the Village
Vegetation is one of the strongest visual indicators of abandonment.
Trees can grow beside walls.
Small plants can appear along paths.
Larger roots can interact with damaged structures.
This creates the impression that nature has gradually reclaimed the settlement.
Use Different Levels of Decay
Think about the village as a timeline.
Some areas can appear recently damaged, while others can look as though they have been abandoned for decades.
A relatively intact doorway might stand beside a heavily collapsed wall.
A weathered barrel can sit beneath a newer-looking structure.
These contrasts make the scene more believable.
Create a Focal Point
Choose one major feature to attract attention.
This could be the largest ruined building, a damaged tower, an old village square or a particularly overgrown structure.
Arrange surrounding terrain so the eye naturally moves towards it.
Use Colour Carefully
Ruins can easily become a mass of grey and brown.
Introduce subtle variation.
Different stone tones, weathered wood, muted vegetation and darker recesses can keep the scene visually interesting.
You can also use small areas of colour to draw attention to important details.
Finish With Fine Details
Once the main terrain is complete, look closely at the transitions.
Add smaller stones around larger rubble.
Use vegetation around wall bases.
Place small objects along paths and beside buildings.
These details make separate terrain pieces feel like one environment.
A ruined village diorama works because it suggests a story.
You don’t need to show the event that caused the destruction. The broken buildings, abandoned objects and returning vegetation allow the viewer to imagine it themselves.
By combining different levels of damage with carefully placed scenery, you can create a miniature village that feels old, abandoned and full of history.